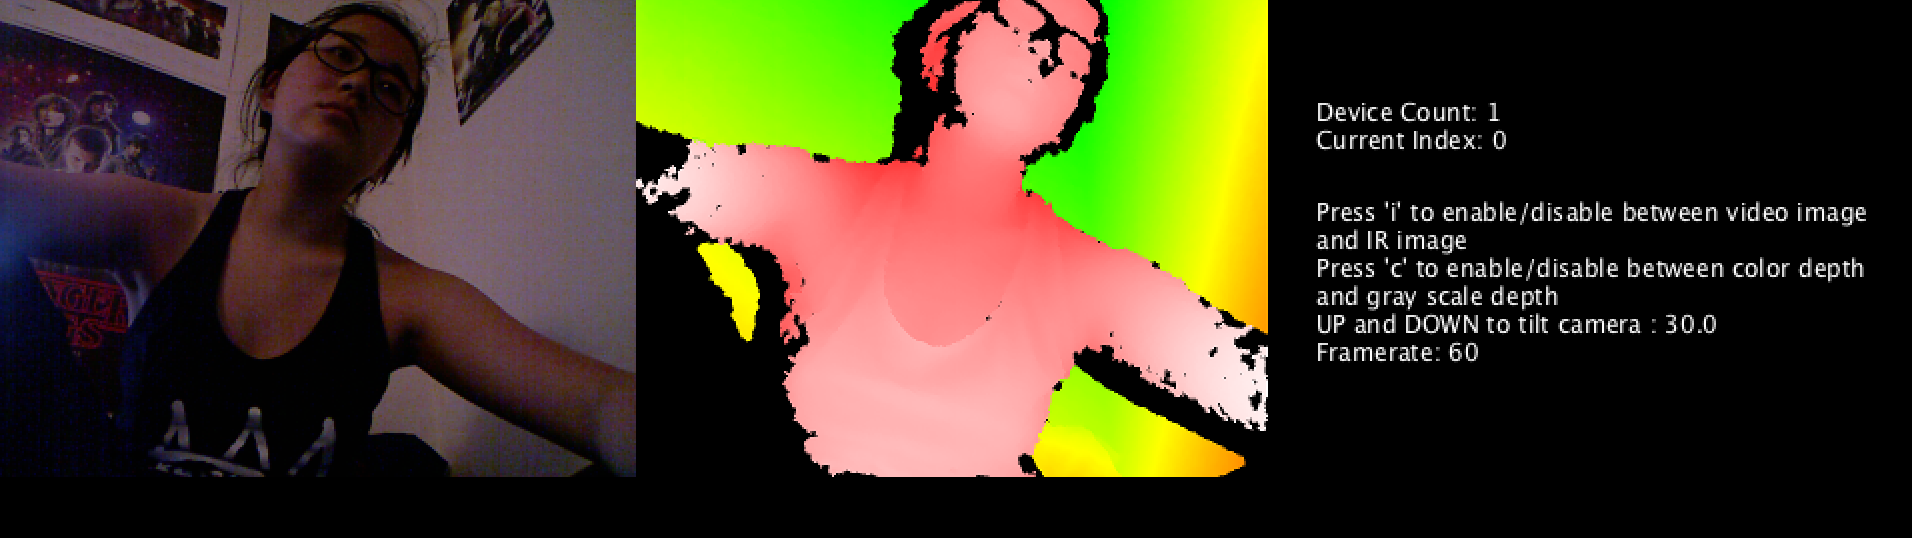
For my conference I always knew I wanted to do something interactive. Interactivity is probably the most fun I can have with programming, I love the gratification of being so involved in a system. I came into this class with interactivity in mind, but I figured I’d only be using my webcam. That is, until I was provided with a Kinect. Learning Kinect was probably one of the most complicated things I’ve done. Sure, there’s a lot of documentation around on the web, but it’s a very intimidating process. Thanks to Daniel Shiffman I was able to learn how to configure my Kinect into Processing. My first week with the Kinect, all I was able to do was open the examples from Shiffman’s Kinect library. It offered examples from Point Tracking to various Depth Images. Luckily Shiffman’s library is up-to-date and compatible with the newer versions of Processing. His Point Cloud example was the basis of my work for Blackspace (as explained in one of my previous posts).
In order to do what I wanted to do for conference, however, I’d have to install a really old version of Processing. The class lead me to a really great book: Making Things See by Greg Borenstein. The entire book is written about Kinect and Processing, but due to the fact that it was written back in 2012, I had to go back in time with my programming. I had to learn all about something called SimpleOpenNI, which honestly I’m still not quite sure I understand, but it is basically a library that works really well with the Kinect. OpenNI is dated, though, and isn’t even compatible with Processing anymore.SimpleOpenNI provided something really useful that I wanted to learn about which is skeleton tracking. It seemed like the best option to make the fun, interactive sketches I wanted. So in order to useSimpleOpenNI, I had to go way back to Processing version 2.21. The installation ofSimpleOpenNI itself was so complicated, it took me a few days. Basically it took going to someone’s Google Code site, finding the appropriate version of SimpleOpenNI, downloading the SimpleOpenNI Installer via my laptop’s Terminal, then bringing that library into Processing. Borenstein explains it very well, and now I feel silly for how long it took me to figure out.

SimpleOpenNI’s skeleton tracking feature was really important to me. Basically within the library, you can access joints from the skeleton (seen by the Kinect) and use them to help track movement. Depth is interesting enough, but I wanted full body movement. My first task was to create the skeleton, then draw ellipses at each of the joints. The skeleton itself is extremely sensitive to the movement and often ends up in really crazy/hilarious positions. The Kinect is also capable of registering (I believe) up to 4 skeletons at a time, but I decided to just stick with the one for now.
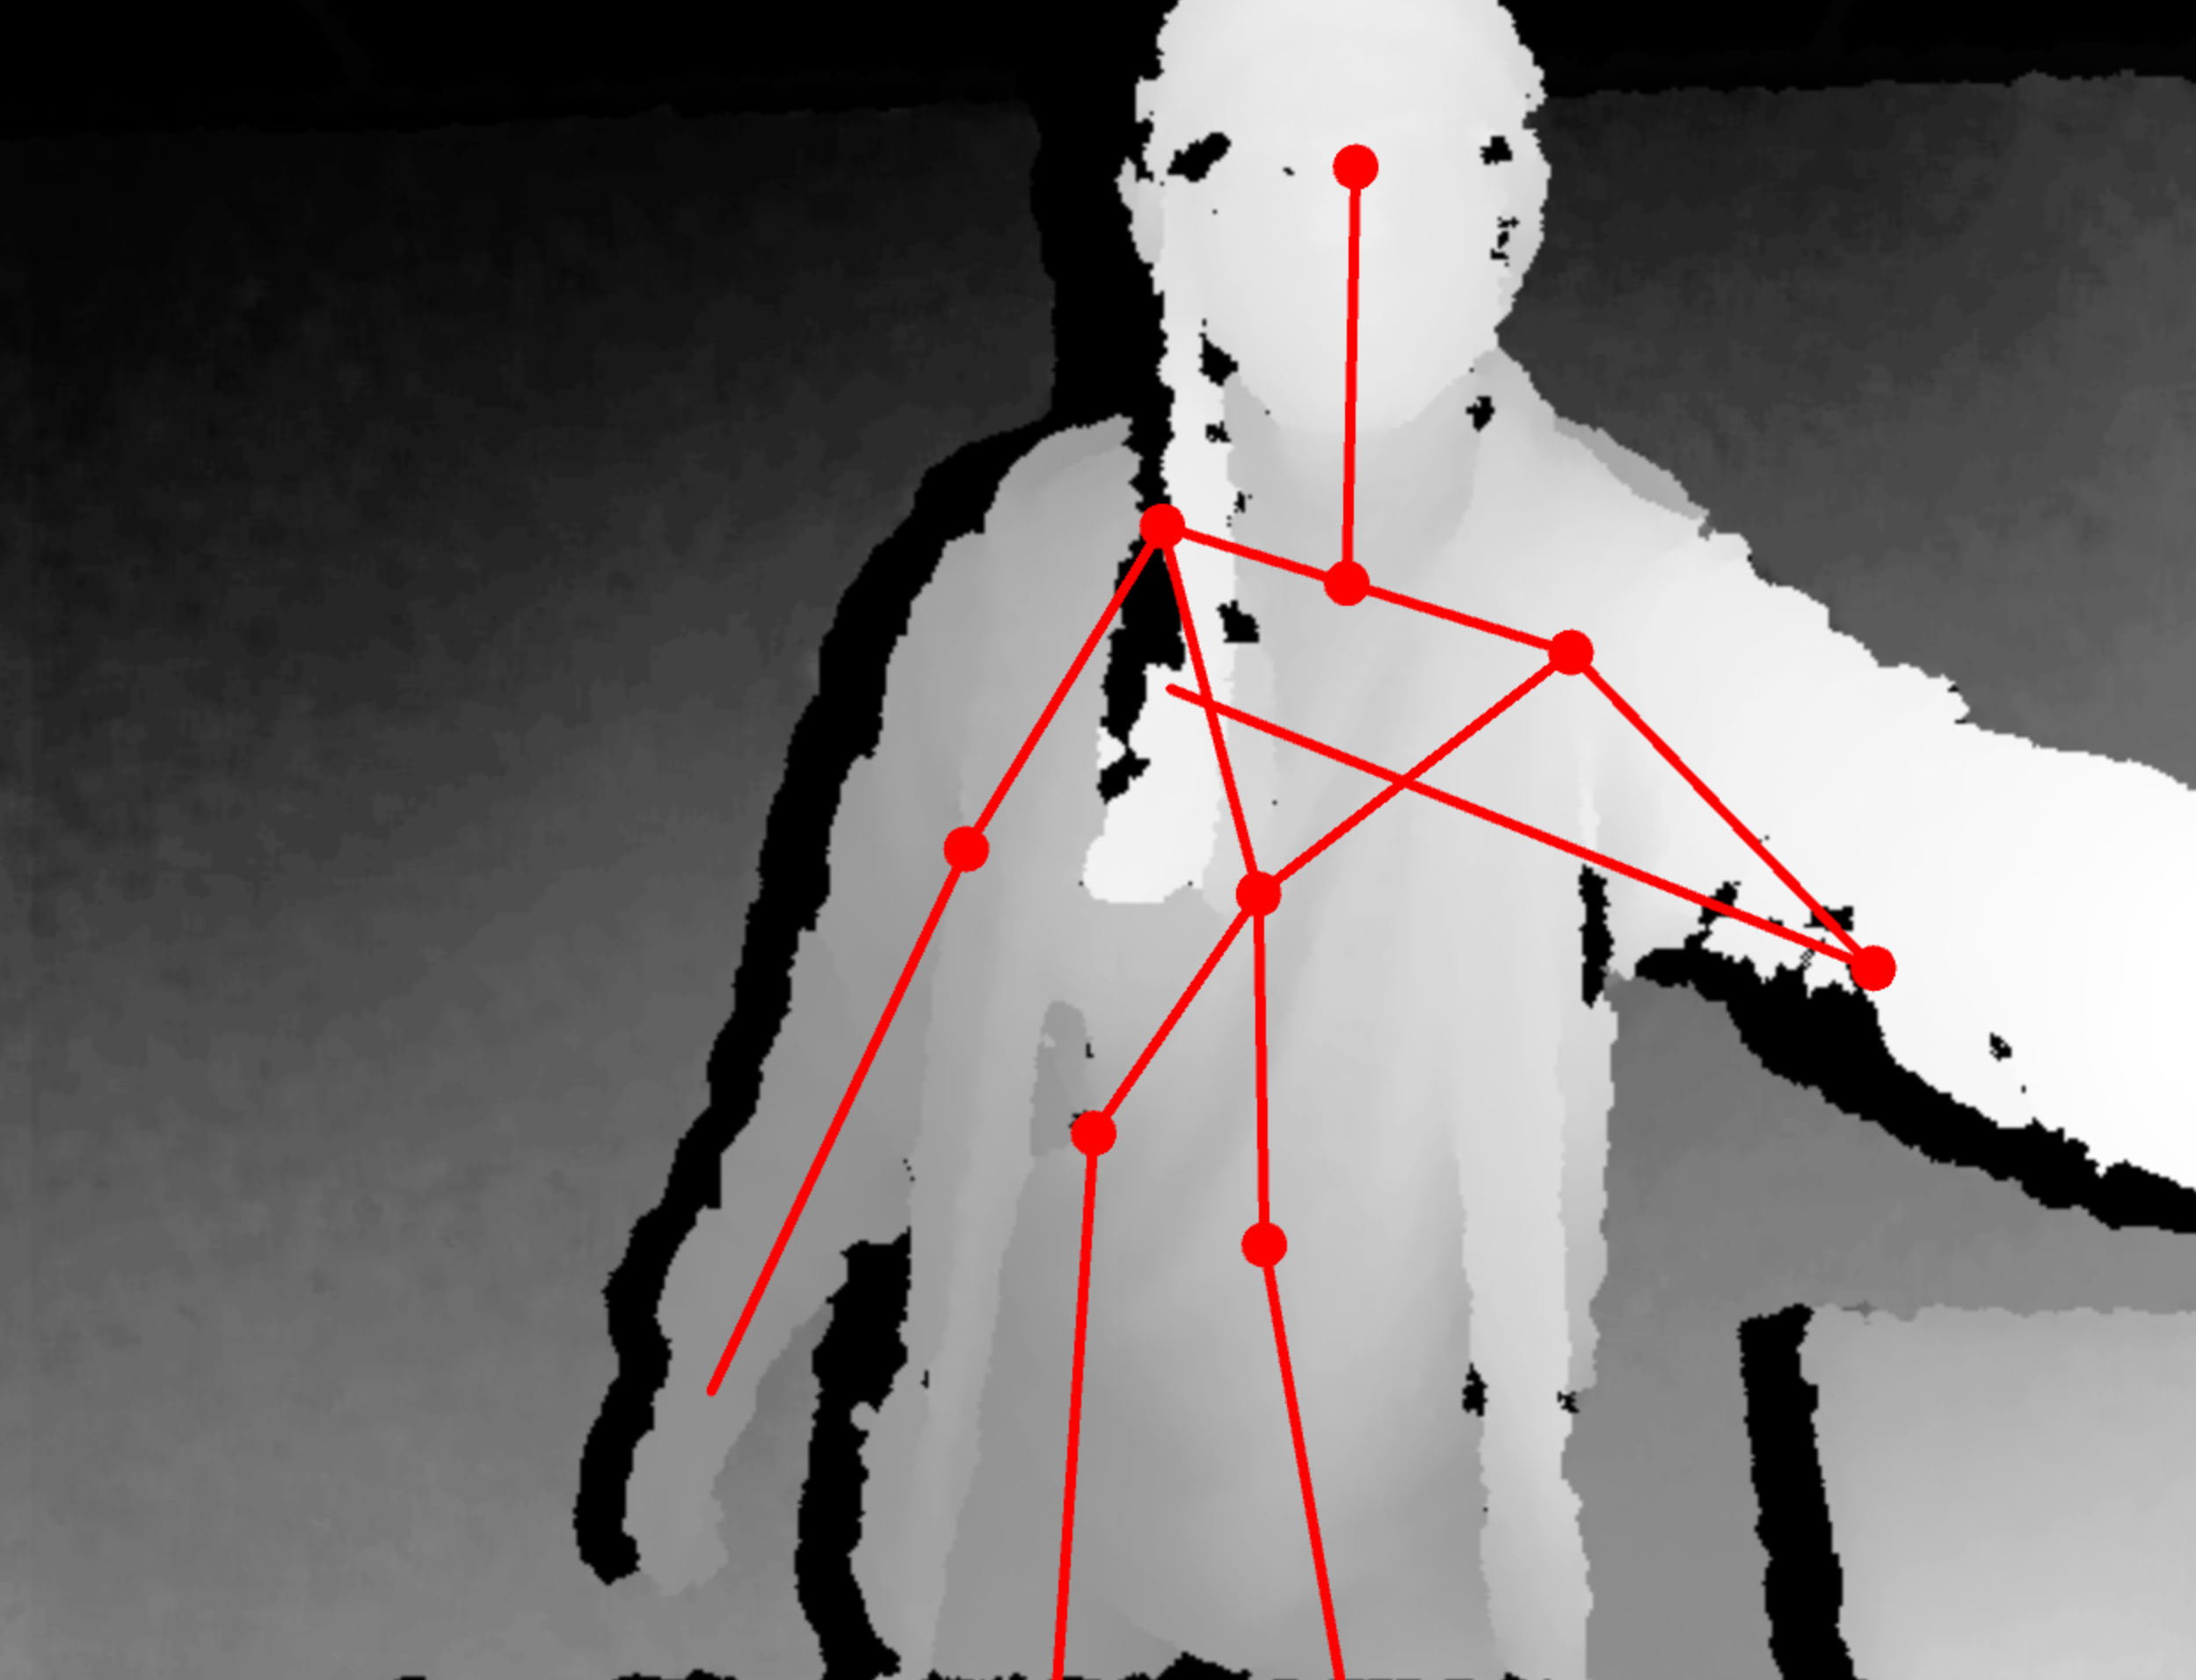
The setup of the skeleton code was so convoluted to me in the beginning. It took going through the sources within the library to even remotely understand how it worked. Eventually it clicked and I was able to figure out how to reference each joint’s x and y coordinates. Each joint within the SimpleOpenNI library is recorded via PVector, and in order to actually utilize the information it’s necessary to make use of built in functions: getJointPositionSkeleton() and convertRealWorldToProjective(). These translate the Kinect’s information into usable data for us. From there, the possibilities are pretty endless. There was a lot I wanted to do, but not enough time or understanding to do it. I was able to create two small-scale sketches using my skeleton data.
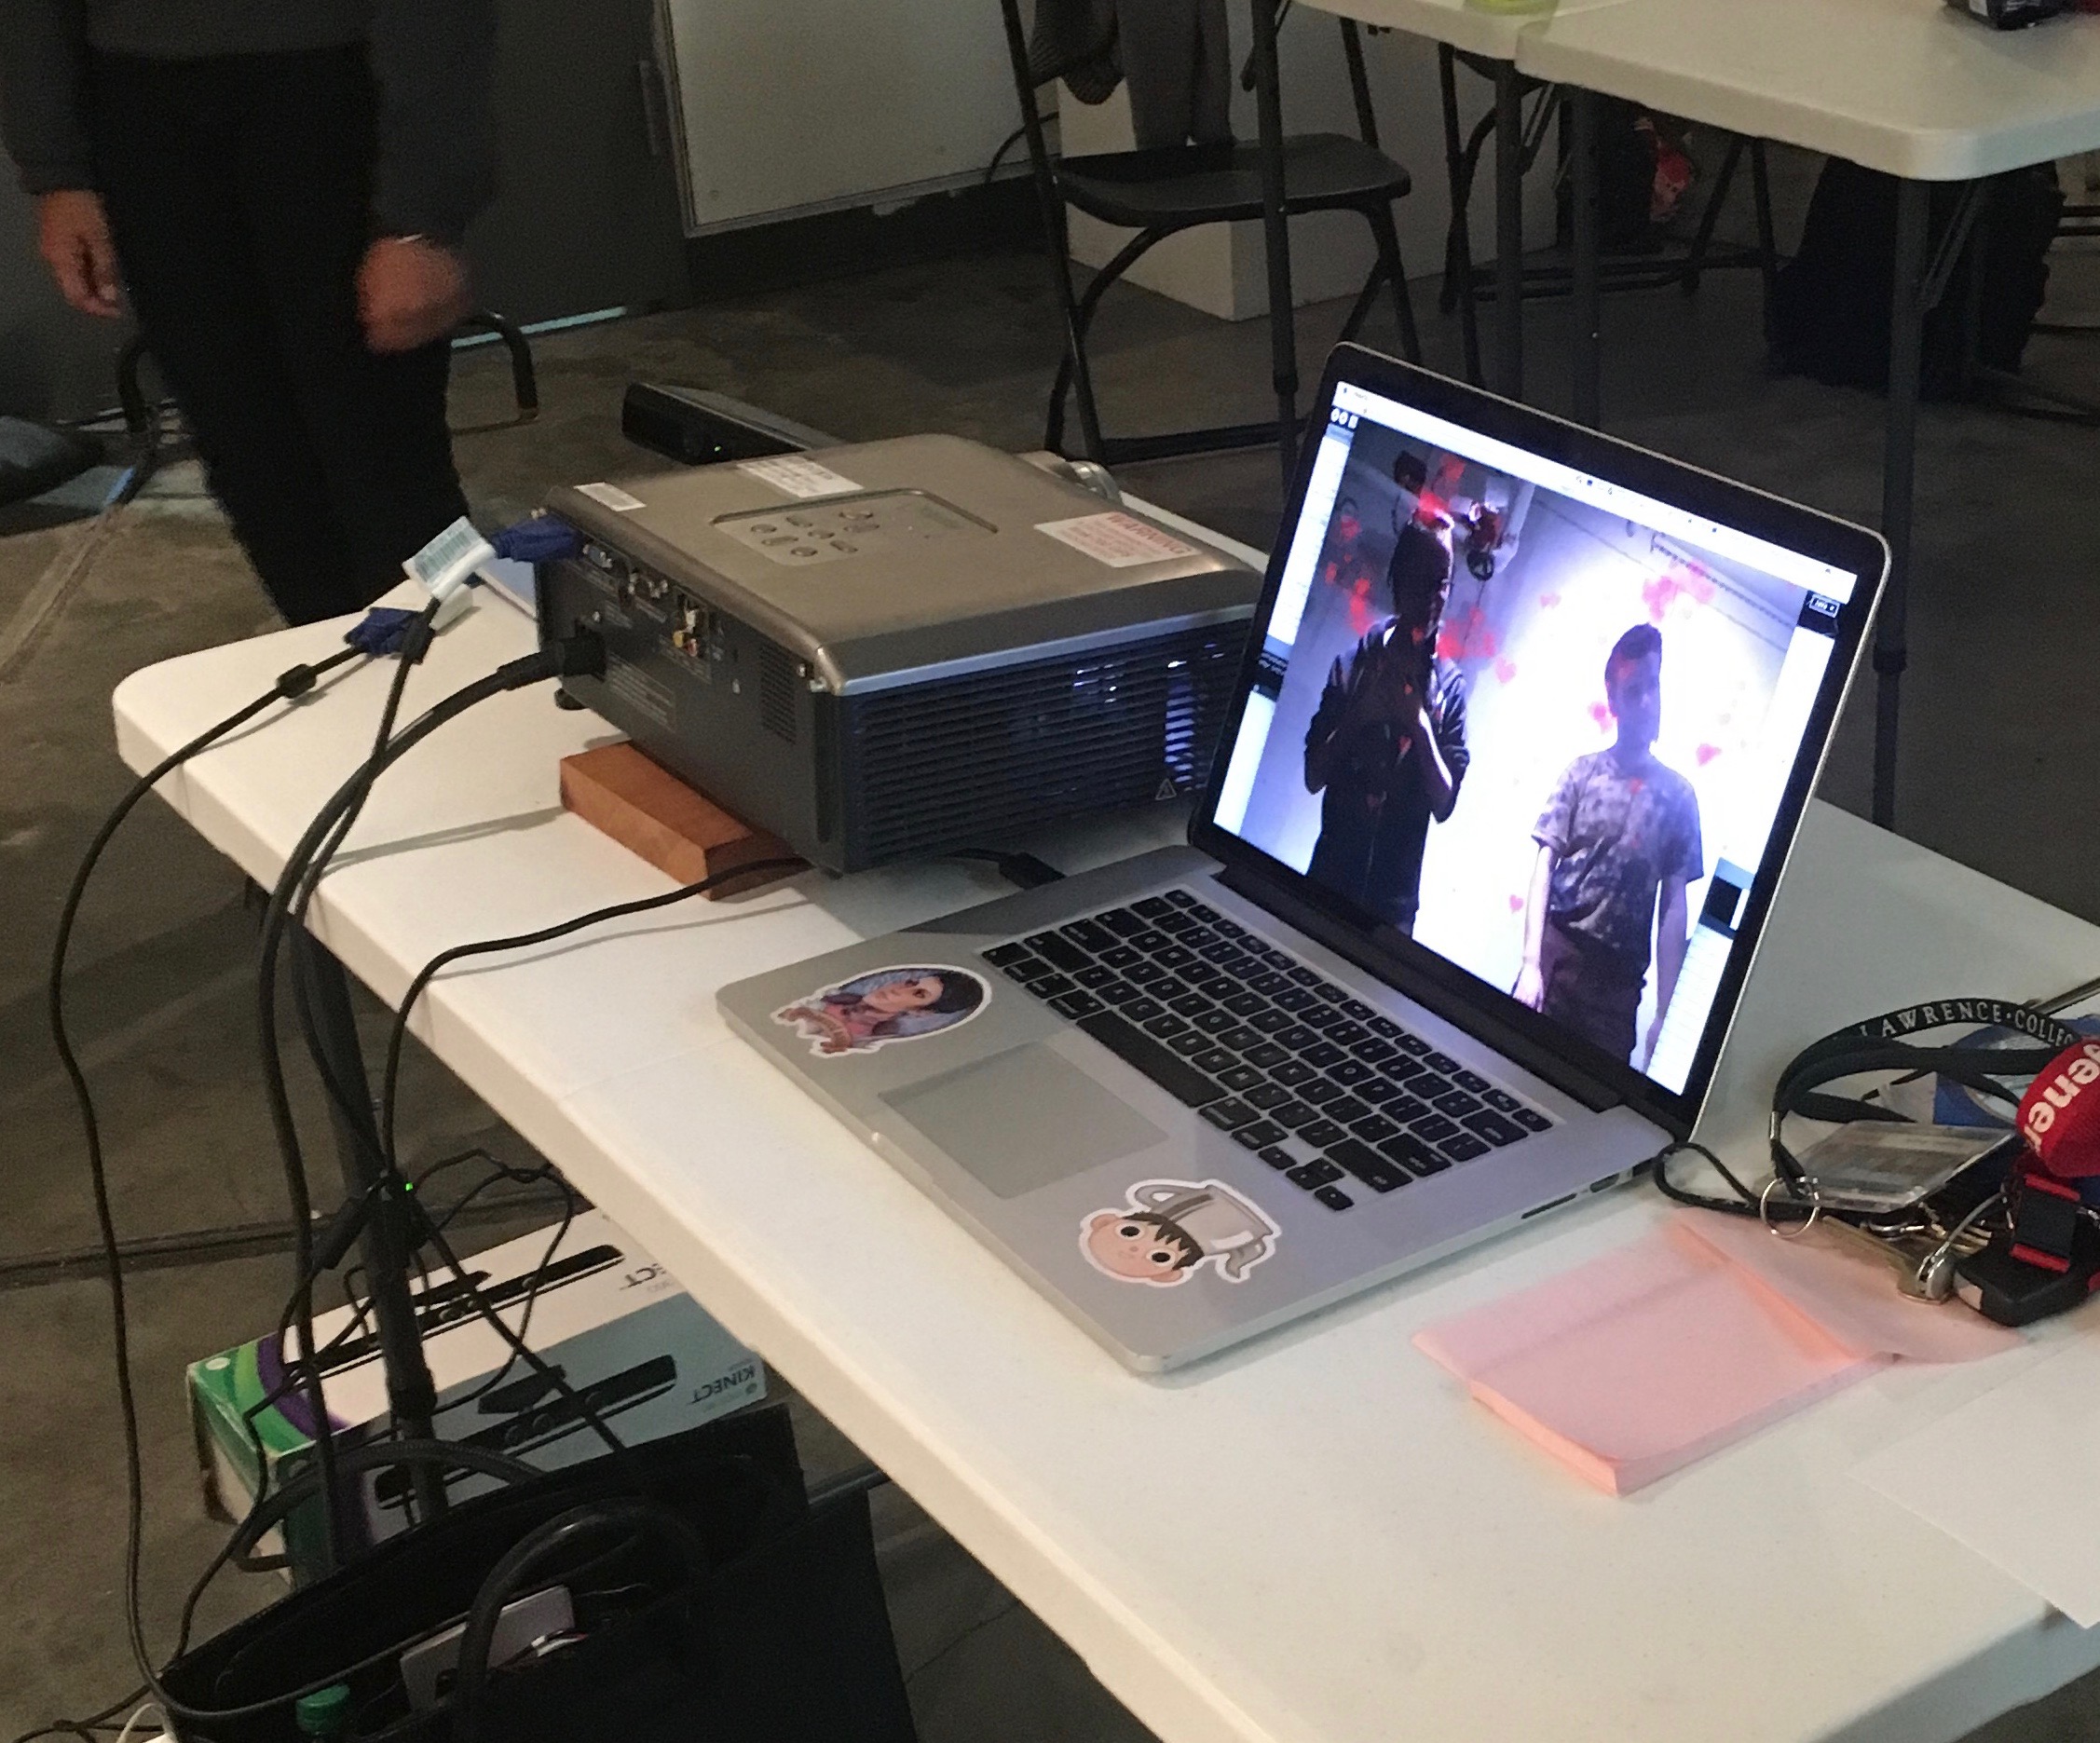
Instead of having the skeleton visible and on the Kinect’s depth image, I thought it would be more fun to see the actual RGB camera reflected back on screen (the Kinect offers 3 versions of images: RGB, Depth, and Infrared). So for one sketch I have a stream of bubbles coming from out of the user’s hands as well as bubbles floating up in the background. It’s really satisfying to move my hands around and see the bubbles follow, and I was really happy with how the sketch turned out. The other one is a sketch that uses the joint of the head, neck, and shoulders. Based on the falling snow system we did in class a while ago, I learned that there are a ton of text symbols that can be called within Processing. I went and found the unicodes for a few heart shapes and created red hearts around the user’s head that follow them as they walk around. It’s a really sweet sketch and fun to play with.
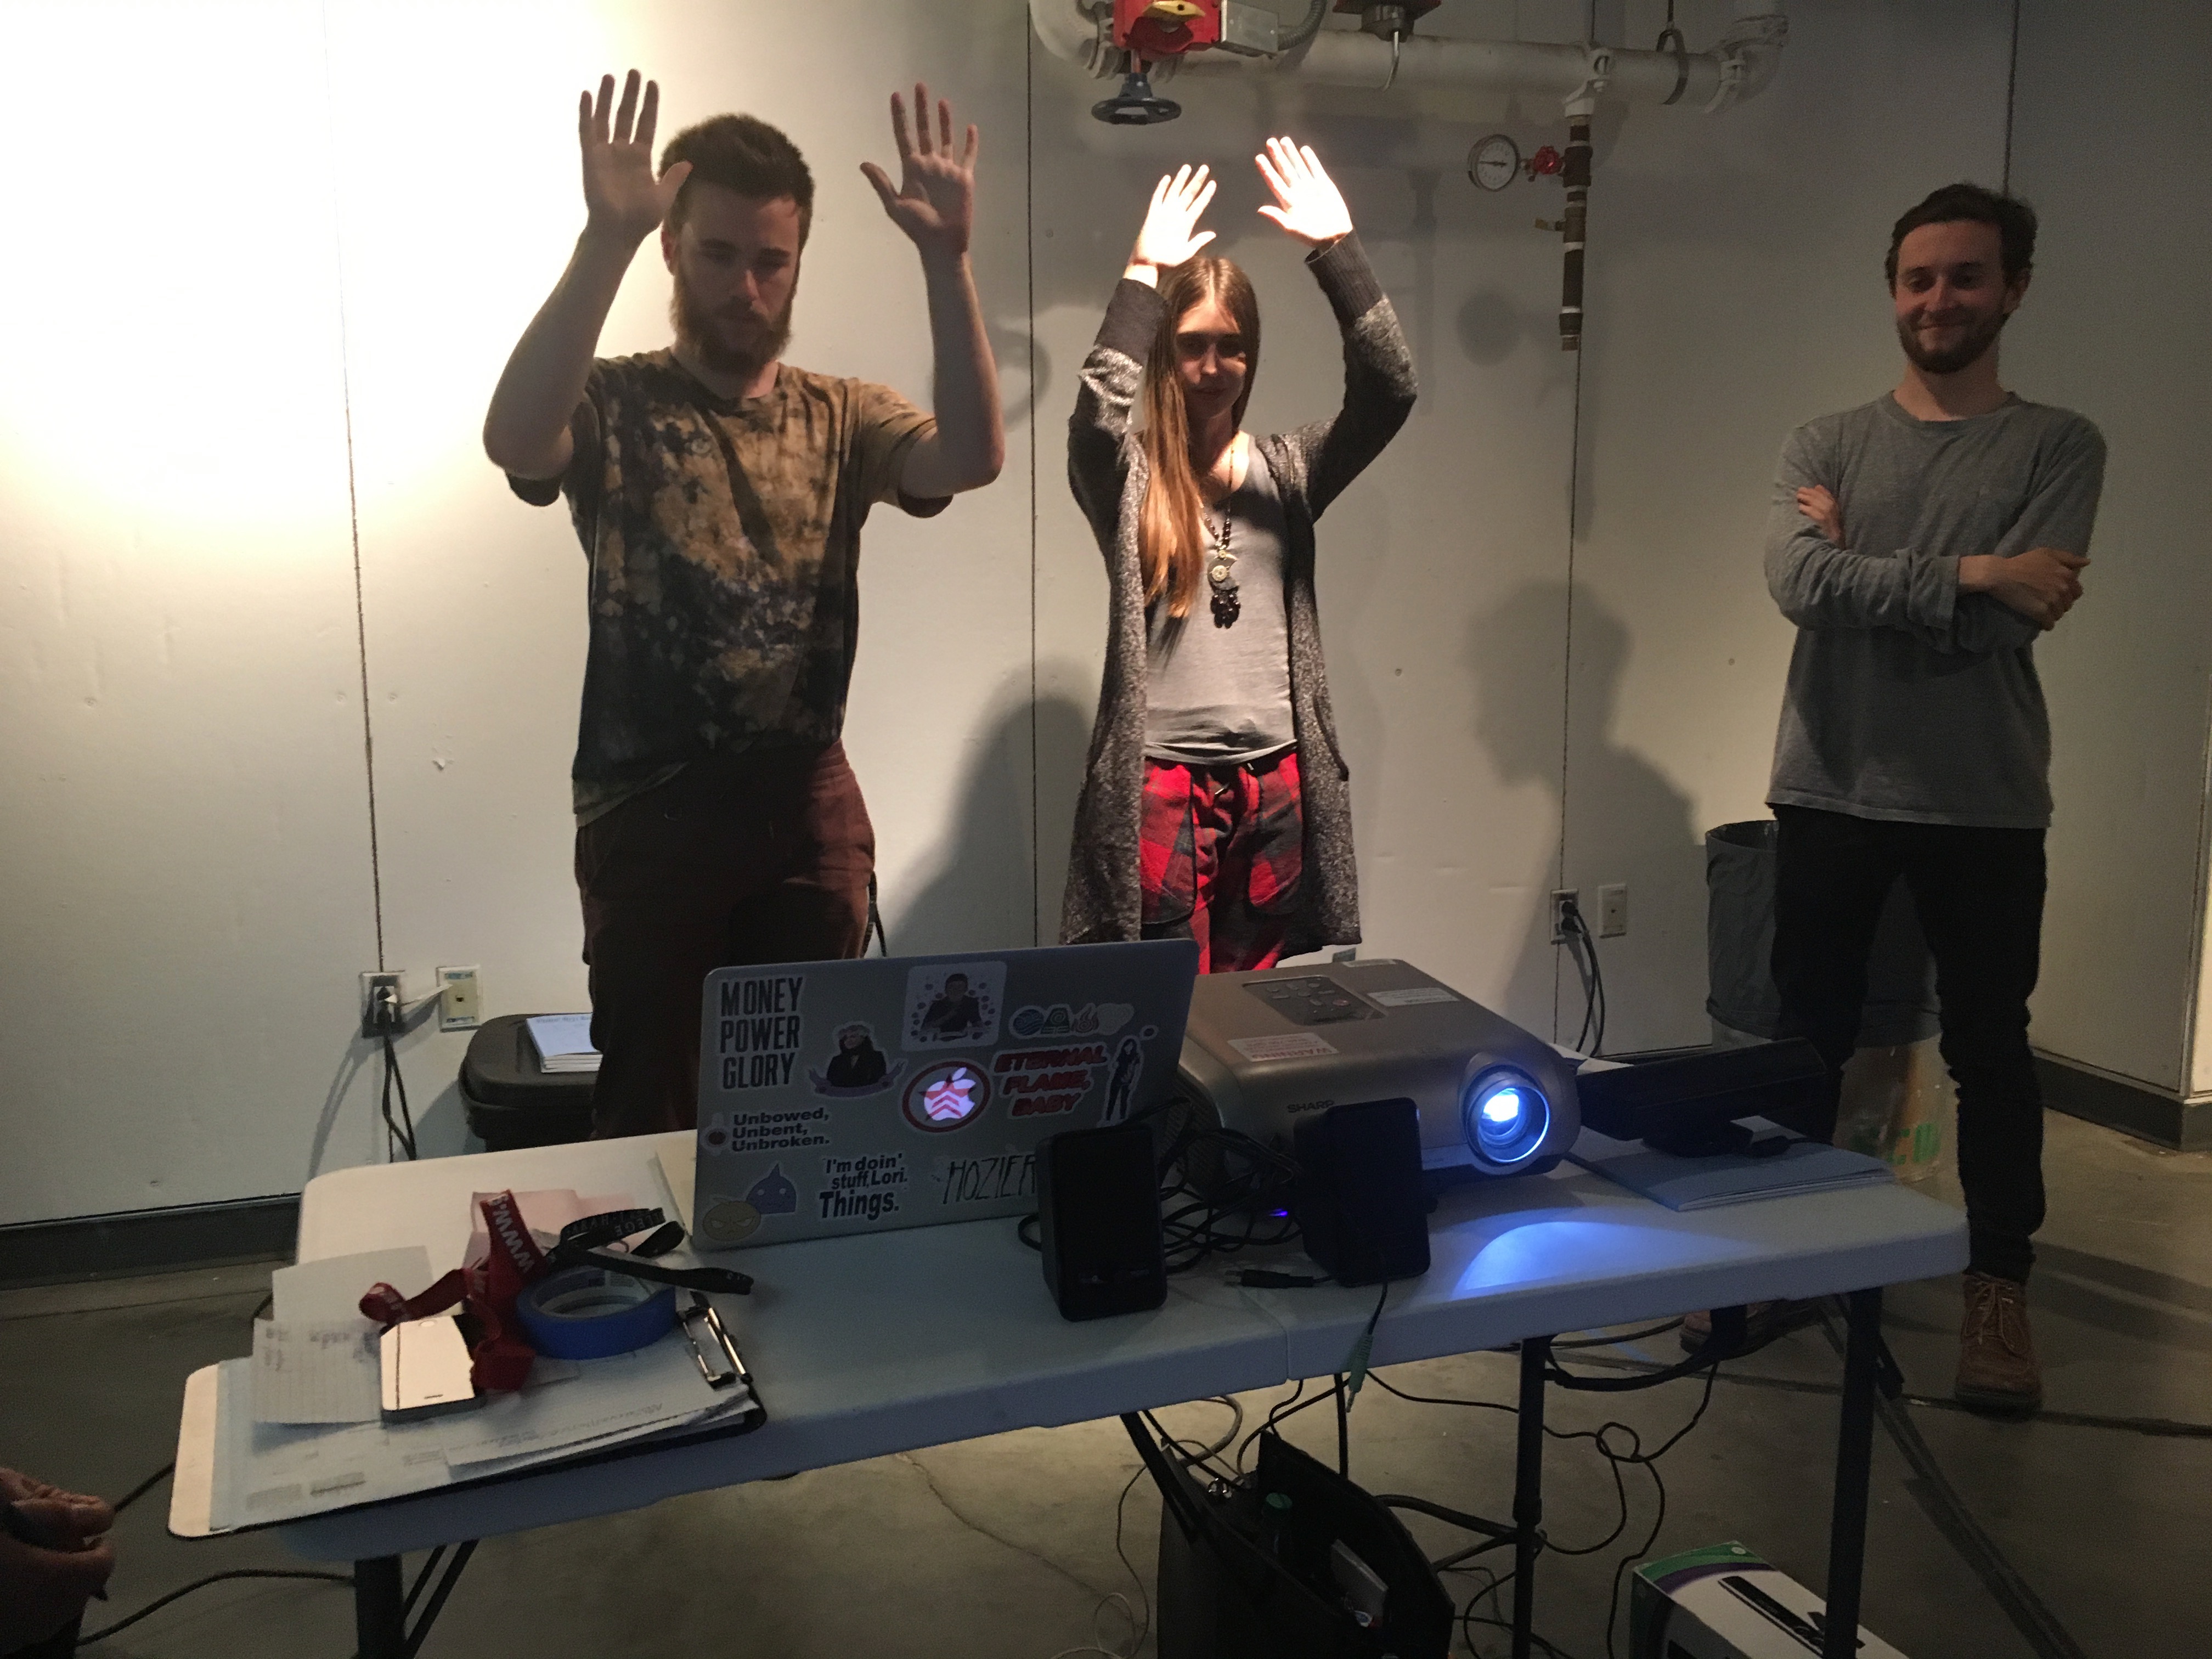
The presentation of my conference to the class was very successful. The systems worked (mostly) how I wanted them to considering the old version of Processing and the v1 Kinect. It’s really great to see everyone’s reactions and have fun with something I’ve worked hard on for a while now.
Overall, my experience with the Kinect has been positive. It took a lot of backtracking and extra research, but I now feel a bit more comfortable with it. My work this semester has been on the Kinect version 1, but now there’s a version 2 that can track a few more joints and contains some updated features I’m eager to try out.It was worthwhile to go back to the older version of Processing, but I much prefer creating things with Shiffman’s library in the up-to-date version. There’s a very distinct difference in quality and fluidity of movement. I hope to continue with the interactive qualities of programming, and I’m so glad I got a chance to basically learn something from the ground up. As intimidating as it all can be, I am absolutely open to talking about with anyone and helping in any way I can.
Helpful links:
- Getting Started with Kinect and Processing
- Making Things See
- Microsoft Kinect with Processing
- Understanding Kinect Coordinate Mapping (For v2 but good for learning about mechanics)


